1. First select a label template, right click and chose "New Template based on..."
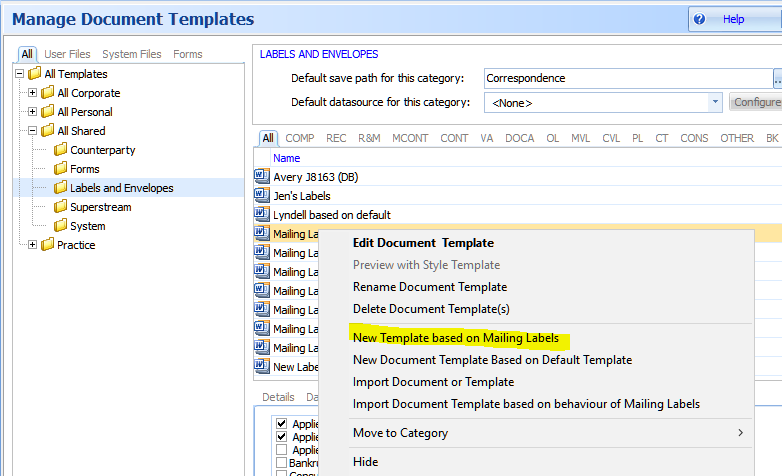
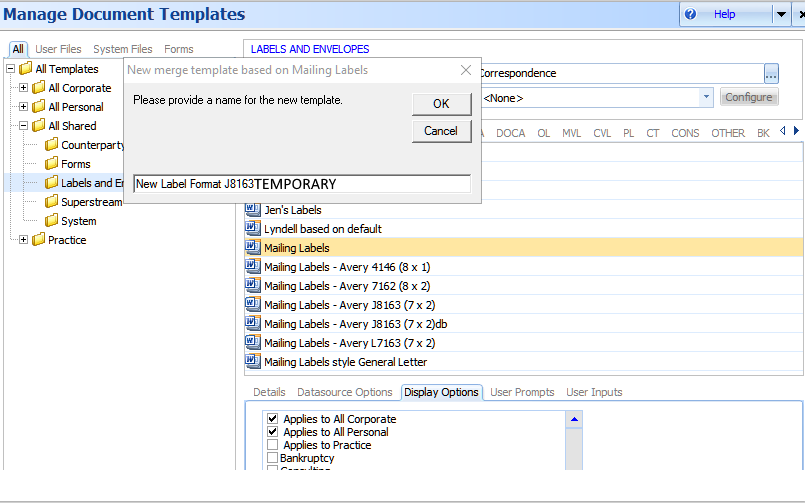
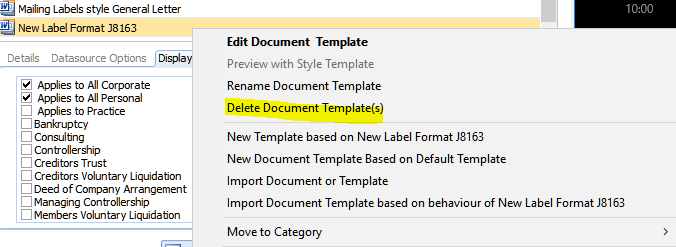
2. Give it a new name, press enter (Note that the template you are going to produce in this step is temporary as it will be used as a mask for your final template. You will delete it later hence use temporary at the end of the name to remind you to remove it later)
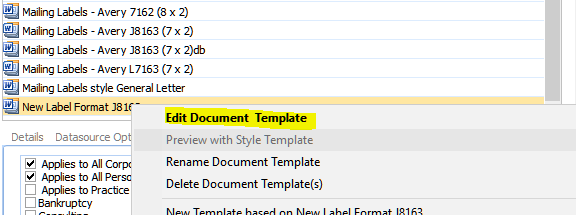
then right click on it when it appear in the list and choose Edit Document Template
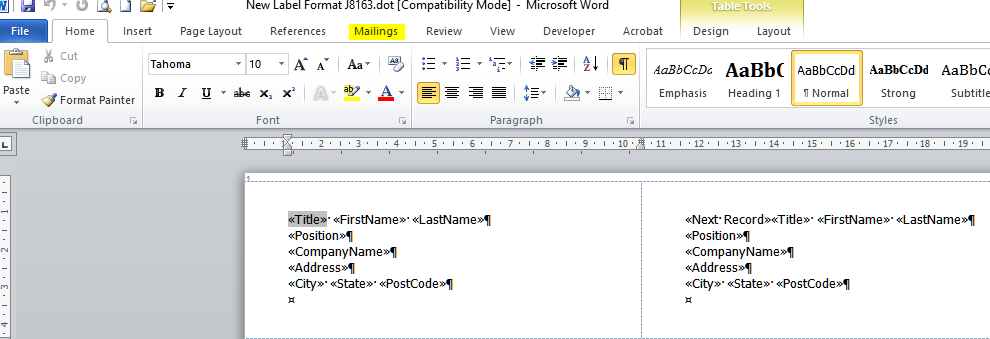
3. Open up the Word Template and select mailing (Note. it is recommended that you select the  mode which shows you special characters which will assist when you are editing your new format)
4. Select the new label Format Type
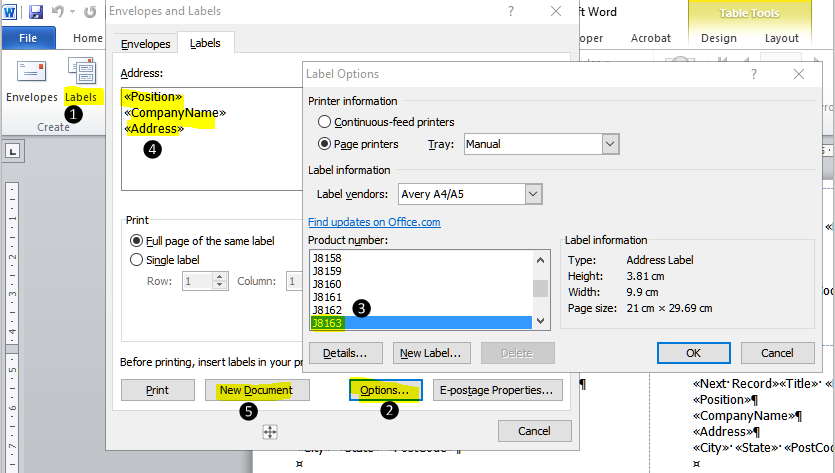
❶ Choose Labels.
❷ Select Options.
❸ Select the required label type and press OK
❹ Clear the Address details
❺ Choose New Document
5. Create Merge Fields
❶ Select Insert
❷ Select Quick Parts
❸ Choose Fields

Scroll down the list until you find Merge Field and select it.
Enter a Field name (in this example Title), press OK
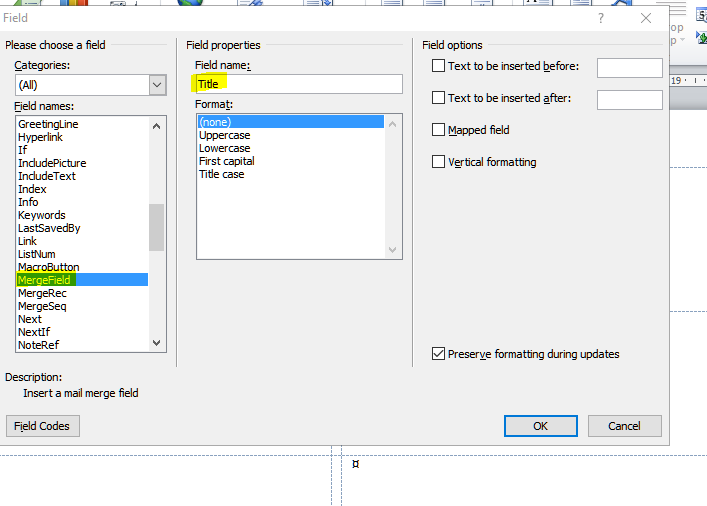
This will insert the field name <Title> in the first label.
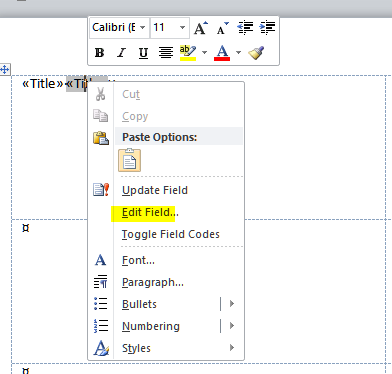
Highlight this field and copy it. Then insert it next to the current <Title> field (make sure you leave a space between them). You now have two fields with the same name.

Right lick on the second <Title> field and choose Edit Field. Change the name to FirstName click OK.
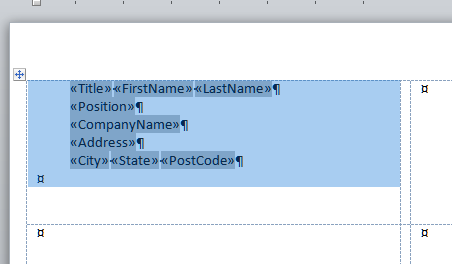
Continue with this process until you have a label similar to the following (you may want to position it in the center of the label area).
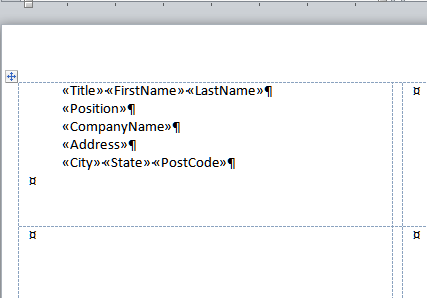
Now you need to put a continuation code after the last field. (this is required so that the system knows to move on to the next record in the database or you will end up with the same details being repeated for each label).
Place your cursor after the last field <<PostCode>> where the X is as follows.

Go to Quick Parts then Field ( as you did in step 5 above)
Scroll down the list until you find <Next>, press OK (This will insert a hidden character at the end of your label)
Now copy the labels cell, make sure you highlight it entirely.
Proceed to paste the contents of this cell into every other label box on the page.
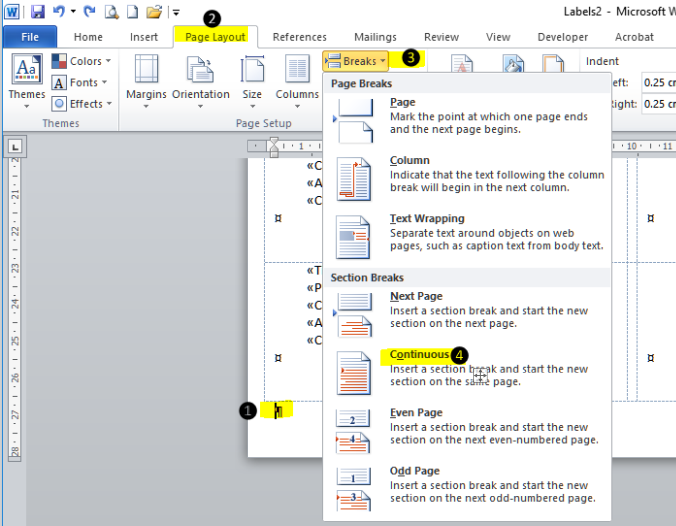
6. Put in a continuous page feed.
❶ Place cursor at the end of the label page
❷ Click Page Layout
❸ Choose Breaks
❹ Select Continuous
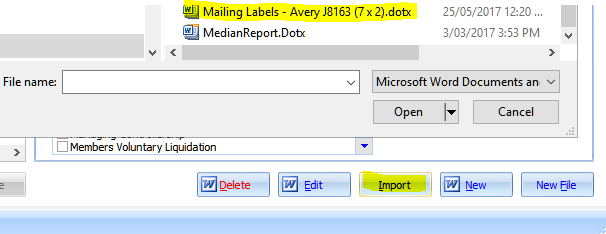
7. Save your new label format as a template which has a .dotx extension. You need to save it to your desktop or another easy to access location as you will be importing this into the system in the next step.

8. under Manage Document Templates choose Import and select the document you just saved. This is the final version and so you should give it a meaningful name this time.
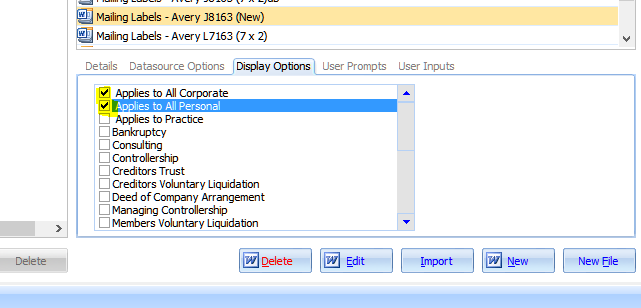
Don't forget to give it display attributes or it will not be visible on the circular and mailing menu
you should also now delete the temporary template you created in Step 2 above.
Test that your new label format works.
Comments
0 comments
Please sign in to leave a comment.