Normally assistance with the Report Designer is undertaken as a consultation and fees can apply.
Data fields
Reports and Forms together with other types of documents such as Mailing Lists, Labels and Circulars gain their final output from a larger pool of data fields which get automatically generated in the back ground when a report is run, they are specific to each report.
In most cases all the available data fields don't appear on the final report, however they can be retrieved and added to the existing report or used to create a new report.
To find out which fields are available behind a report you need to first output the report's data source in a RAW Excel format.
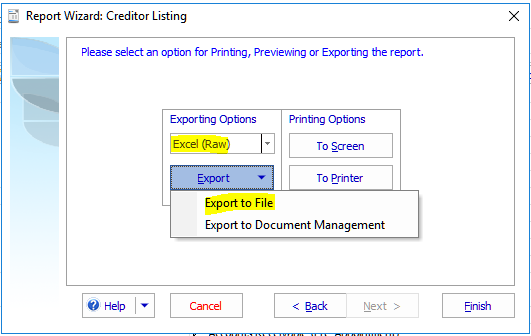
Doing this enables you to save the raw report as an Excel spreadsheet which includes the corresponding report output and all the available fields which are named in row one. It is these names which you refer to within the Report Designer when creating new output fields.

The standard output for the Creditors Listing report looks like the following, to change it you need to access the report through the designer (normally it is better to create a copy of the report you want to change rather than work on the standard system report).

Report Designer
To design a report:
- Run the report
The quickest way to initiate the report designer is by using the "Back" button whilst in the Report Wizard to pinpoint the report you are interested in.
The report list displays. - Right click on the desired report and select the option "New Reports based on....."

You are prompted to enter a new report name. - Enter a name for the new report

- Click OK
The new report appears in the report list. You have now copied the original report. - Right-click the new report and select Design report
In this view the report is called "Design Creditor Listing (modified)".
The report will now display in design mode.
The Report Designer interface
The Report Designer interface looks like the following and produces files which have a .RPX extension. In the example below the Creditor Name has been highlighted in the main pane and on the right side the field attributes are available in the Property Tool Box.
Field properties
In particular you will note that DataField contains the specific name of the field in the Excel (Raw) output above (see cell D1). This is how fields are mapped from all the available raw data to the report being built.
Hiding fields
Instead of deleting fields from report formats, you can set the Visible property to FALSE, so the field doesn't display on the print out.
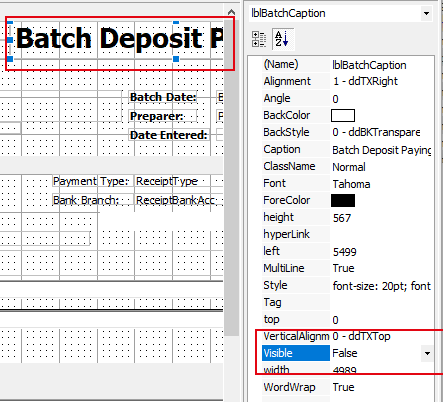
Note
Deleting fields can cause errors running reports.
Changing the format of number fields
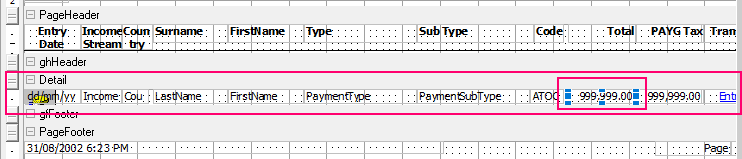
To change the format of a number field, in the report designer:
- Select the amount field in the detail section of the report (pictured below).
- In the Property ToolBox locate the OutputFormat field.
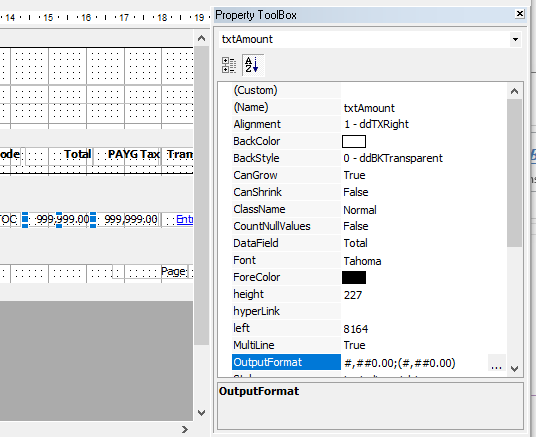
- Enter the new output format
The system format for 2 decimal places is "#,##0.00;(#,##0.00)". - Click Save and Exit to save the report format
Adding text fields
Add text fields by copying existing fields on the report or by clicking the "ab|" button in the toolbox. Change the CAPTION property to add the text you want.

Adjusting column widths
To adjust a column place you mouse on the heading text and the detail field and adjust the width of the column. Note: you may also type the width in the property box.
Inserting or Updating an Image
Click on the icon for inserting an Image
Draw the area you want to insert the image in.
Click on the ellipsis next to picture and select your image to be inserted. Click Ok
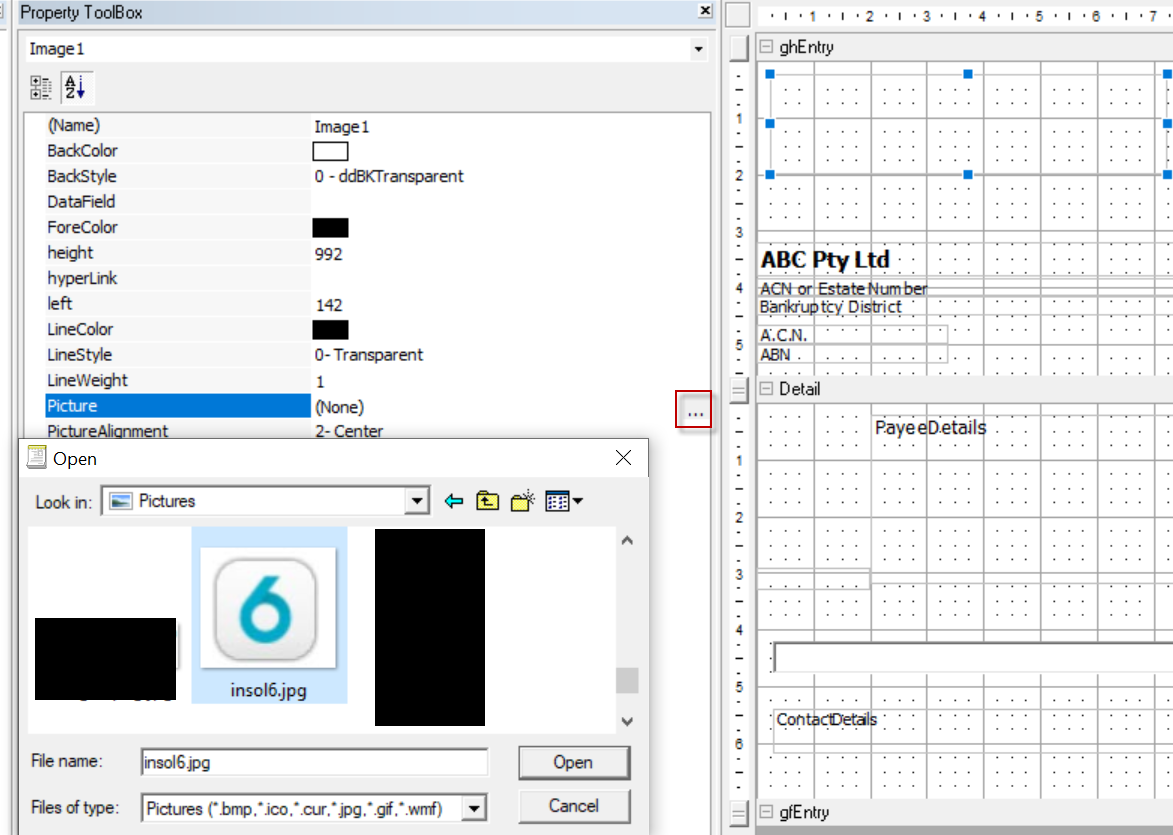
You can adjust the size for you image by dragging the blue squares.
Save and exit.
If you are updating an existing image click on the image, then click on the ellipsis next to Picture and select a new image.
The discussion above is only a broad outline of how Report Designer functions and is not intended to be a manual on the full functionality of the report builder interface. If your requirement is specific and not covered by this article please contact the support desk at support@exalt.zendesk.com so we can assist you further.
The following links contain information on how to load a new report (.RPX file) into the application.
Comments
0 comments
Please sign in to leave a comment.