Create a Windows Task Schedule for a Powershell script
To set up a Windows Task Schedule:
1. From the Windows "Start" button type "Task Schedule"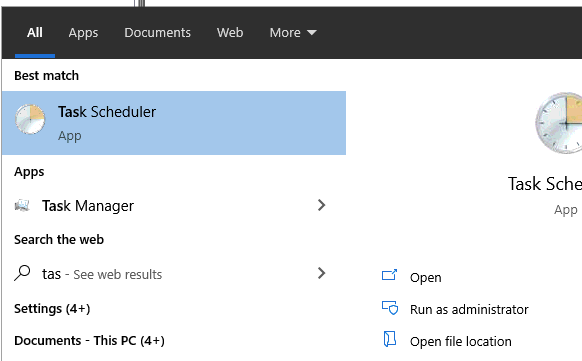
Select "Run as administrator".
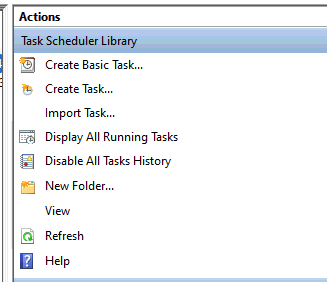
2. From the Actions bar select "Create Task"
The Task Schedule entry form appears.
Enter a name like "Connect Azure document store"
Select "Run when user is logged on or not"
Select "Run with highest privileges"
Configure for "Windows 10" (assuming this is your environment)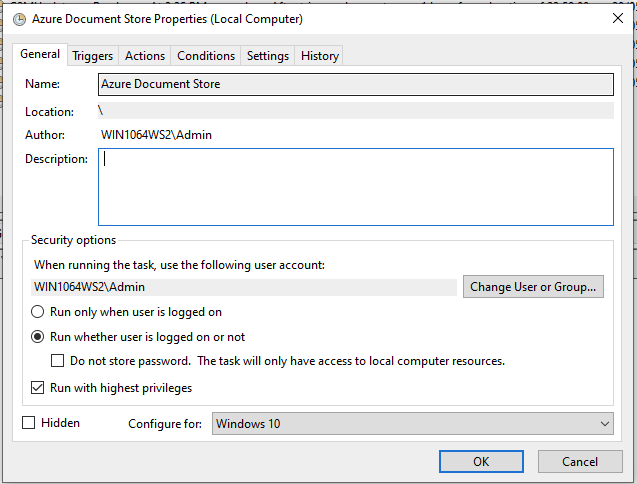
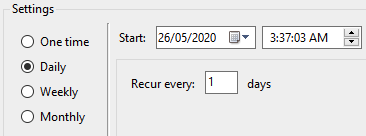
2. Enter the Trigger
3. Add an Action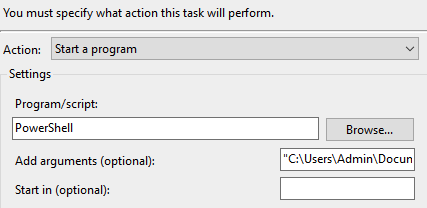
The Argument box should be entered as follows:
"C:\Users\[Admin]\Documents\Azure\Insol6docs.ps1" /noprofile
The Insol6docs.ps1 is the powershell file you have been provided.
Where "Admin" is the current user's windows login name.
4. Check the Settings
Allow task to run on demand.
Stop the task if it runs for longer than 1 hour.
If the task does not end when requested force it to stop.
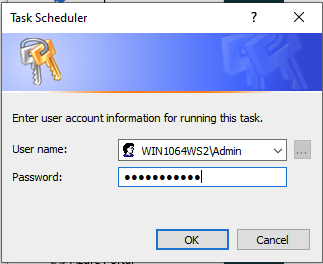
5. Click OK to save
You will need to enter your Logon name and password, assuming this user has permission to run a Windows task.
Enable Task History
In the Actions window enable Task History. This will let you know the schedule has been run. You can disable the task history once you know it is running correctly.
Test
Test the connection by right clicking on the schedule and select "Run". You will need to click "Refresh" to see that the task has been completed. Click on the "History" tab to ensure the task has run successfully.
Your schedule is running successfully.
Comments
0 comments
Please sign in to leave a comment.